
While we have provided a jump to recipe button, please note that if you scroll straight to the recipe card, you may miss helpful details about ingredients, step-by-step tips, answers to common questions and a lot more information that can help your recipe turn out even better.
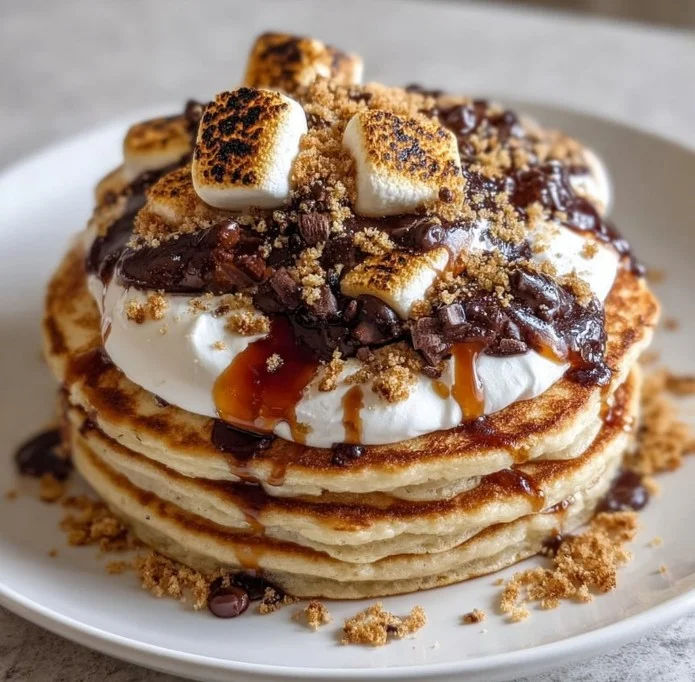
S’mores Pancakes are exactly the kind of breakfast that feels like a tiny celebration, and yes, I say that as someone who eats pancakes for dinner sometimes. These S’mores Pancakes bring melty chocolate, toasty marshmallows, and graham crumbs right to your griddle, and they make weekday mornings feel a little less ordinary. I call them my lazy weekend showstoppers, and I promise, they are easy to pull off even if you have a sleepy crew at the table. Want a quick batch that doubles as dessert and breakfast? You’re in the right place, and you might also enjoy a bright twist like my apple yogurt pancakes for another fun brunch idea.
Why you’ll love these S’mores Pancakes
Think cozy campfire flavors without leaving your kitchen, sticky fingers optional. These pancakes are sweet and nostalgic, but they are also practical: quick to whisk, flexible for swaps, and a huge hit with kids and roommates alike. They are the sort of recipe that makes you grin when the first pancake flips and you see chocolate peeking through, and honestly, who does not want that little win? They rehearse beautifully too, so if you like to meal prep or pack breakfasts, they keep their charm. Emotional satisfaction plus simple technique, that is the whole point here.
Ingredients
- 1 cup all-purpose flour
- 2 tablespoons sugar
- 2 teaspoons baking powder
- 1/2 teaspoon salt
- 1 cup milk
- 1 large egg
- 2 tablespoons melted butter
- 1/2 cup chocolate chips
- 1/2 cup mini marshmallows
- Graham cracker crumbs for topping
A few notes on the ingredients: the list above is where I start every time, and it keeps things straightforward. If you need a swap, use a dairy-free milk and coconut oil instead of butter for a non-dairy version, or cut sugar to 1 tablespoon if you like them less sweet. Buy chocolate chips in bulk to save money, and graham cracker crumbs are easy to make from stale crackers (pulse in a bag). For budget tips, store-brand flour and basic milk work perfectly. I usually pick up mini marshmallows at the grocery store endcap, but you can toast bigger marshmallows and chop them for extra charred flavor (tiny effort, big payoff).
Process overview
-
- In a mixing bowl, whisk together the flour, sugar, baking powder, and salt.
-
- In another bowl, mix the milk, egg, and melted butter.
-
- Combine the wet ingredients with the dry ingredients, stirring until just combined.
-
- Fold in chocolate chips and mini marshmallows.
-
- Heat a non-stick skillet or griddle over medium heat and pour 1/4 cup of batter for each pancake.
-
- Cook until bubbles form on the surface, then flip and cook until golden brown.
-
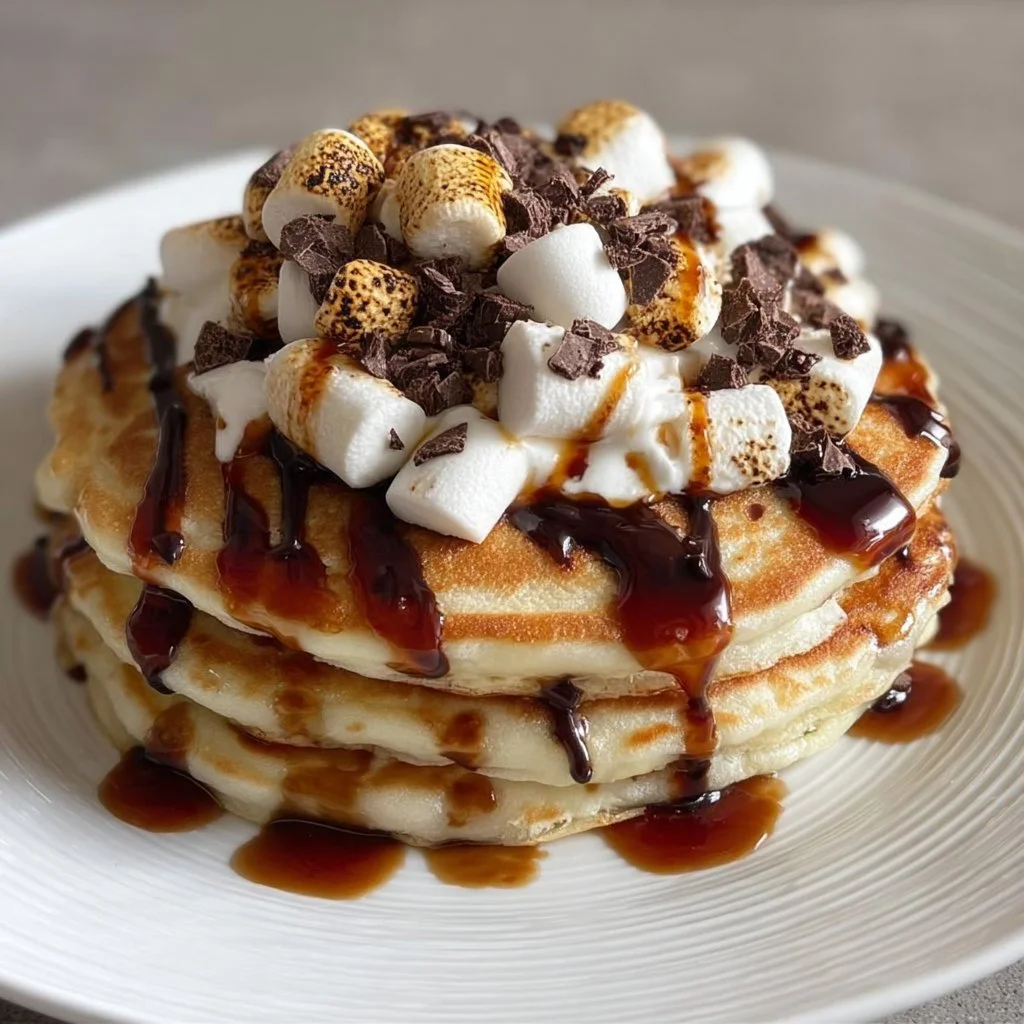
- Serve warm, topped with additional chocolate chips, toasted marshmallows, and graham cracker crumbs.
A few extra thoughts while you cook: don’t overmix the batter, lumps are fine and actually help keep pancakes tender. Look for those little bubbles before flipping, they are your cue that the centers are setting. Marshmallows can scorch if the pan is too hot, so medium heat is the sweet spot; patient cooking equals gooey, not burnt. If you like a more toasted marshmallow note, stick a few on a skewer and hold them over the stove flame for a second (careful), or toast them under the broiler for a few seconds. Timing for a batch is about 15 to 20 minutes from batter to stack for a family of four, faster if you have two skillets going.
Tips & tricks
Keep things simple and sensible. If you plan to cook for a crowd, make the batter and keep it in the fridge, give it a quick stir before pouring. Reheating in a toaster oven keeps them better than the microwave, because you want the edges to stay a little crisp. Freeze cooled pancakes in stacks with parchment paper between them for easy weekday breakfasts; warm them gently on a griddle. Teacher tip: use a 1/4 cup measuring cup to portion evenly so everyone gets similarly sized pancakes. Want a fluffier texture? Let the batter rest for 5 minutes before cooking. And hey, if you ever wonder how much marshmallow is too much, the answer is probably never, but start with 1/2 cup and adjust next time. For more pancake inspo I often mix textures and flavors, like those fluffy lemon ricotta pancakes, which are a bright contrast to these gooey s’mores ones.
Serving ideas
Pile them high and sprinkle graham cracker crumbs for crunch. Serve with extra chocolate chips and a small bowl of marshmallows for topping at the table, that way everyone can customize their stack. They are great for a birthday brunch, a cozy weekend, or a sleepover breakfast. Pair with coffee or thick hot chocolate for true decadence. Leftovers? Sandwich a smear of peanut butter between two warm pancakes for micro-dessert. For a simpler approach, serve alongside fruit to cut through the richness, or add a dollop of yogurt if you want tang. I like mine slightly messy, because pancakes that look a little chaotic often taste BETTER.
FAQ
Yes, you can make the batter and store it in the refrigerator for up to 24 hours; give it a gentle stir before cooking and expect the texture to be slightly thicker after resting.
Cook on medium heat and keep the cooking surface at a steady temperature, and add marshmallows to the pancake batter rather than placing them on the pan by themselves, that helps them heat through without charring too fast.
Absolutely, cool them completely, layer with parchment, and freeze in a sealed container; reheat in a toaster oven or on a griddle until warm and slightly crisp on the edges.
Yes, try a dairy-free milk and coconut oil for a lactose-free version, or use a 1-to-1 gluten-free flour blend if needed—results are slightly different but still delicious.
Fold them into the batter gently and avoid very high heat; cooking a touch longer on medium gives a melty interior while keeping shape, and topping with fresh toasted marshmallows afterwards adds texture.
Thanks for sticking with me through the sticky bits and the tips. If you make these S’mores Pancakes, tell me how you topped them, send a photo, or leave a note—sharing is my favorite part. Try them in the morning, or at midnight, or on a rainy afternoon, okay? Go make a stack and enjoy the gooey chaos!!!

S'mores Pancakes
Ingredients
Dry Ingredients
- 1 cup all-purpose flour
- 2 tablespoons sugar Reduce to 1 tablespoon for less sweetness.
- 2 teaspoons baking powder
- 1/2 teaspoon salt
Wet Ingredients
- 1 cup milk Dairy-free milk can be used.
- 1 large egg
- 2 tablespoons melted butter Coconut oil can be used for a non-dairy version.
Add-Ins
- 1/2 cup chocolate chips
- 1/2 cup mini marshmallows Use bigger marshmallows and chop them for a charred flavor.
Toppings
- Graham cracker crumbs For topping.
Instructions
Preparation
- In a mixing bowl, whisk together the flour, sugar, baking powder, and salt.
- In another bowl, mix the milk, egg, and melted butter.
- Combine the wet ingredients with the dry ingredients, stirring until just combined.
- Fold in chocolate chips and mini marshmallows.
Cooking
- Heat a non-stick skillet or griddle over medium heat and pour 1/4 cup of batter for each pancake.
- Cook until bubbles form on the surface, then flip and cook until golden brown.
- Serve warm, topped with additional chocolate chips, toasted marshmallows, and graham cracker crumbs.


