

While we have provided a jump to recipe button, please note that if you scroll straight to the recipe card, you may miss helpful details about ingredients, step-by-step tips, answers to common questions and a lot more information that can help your recipe turn out even better.
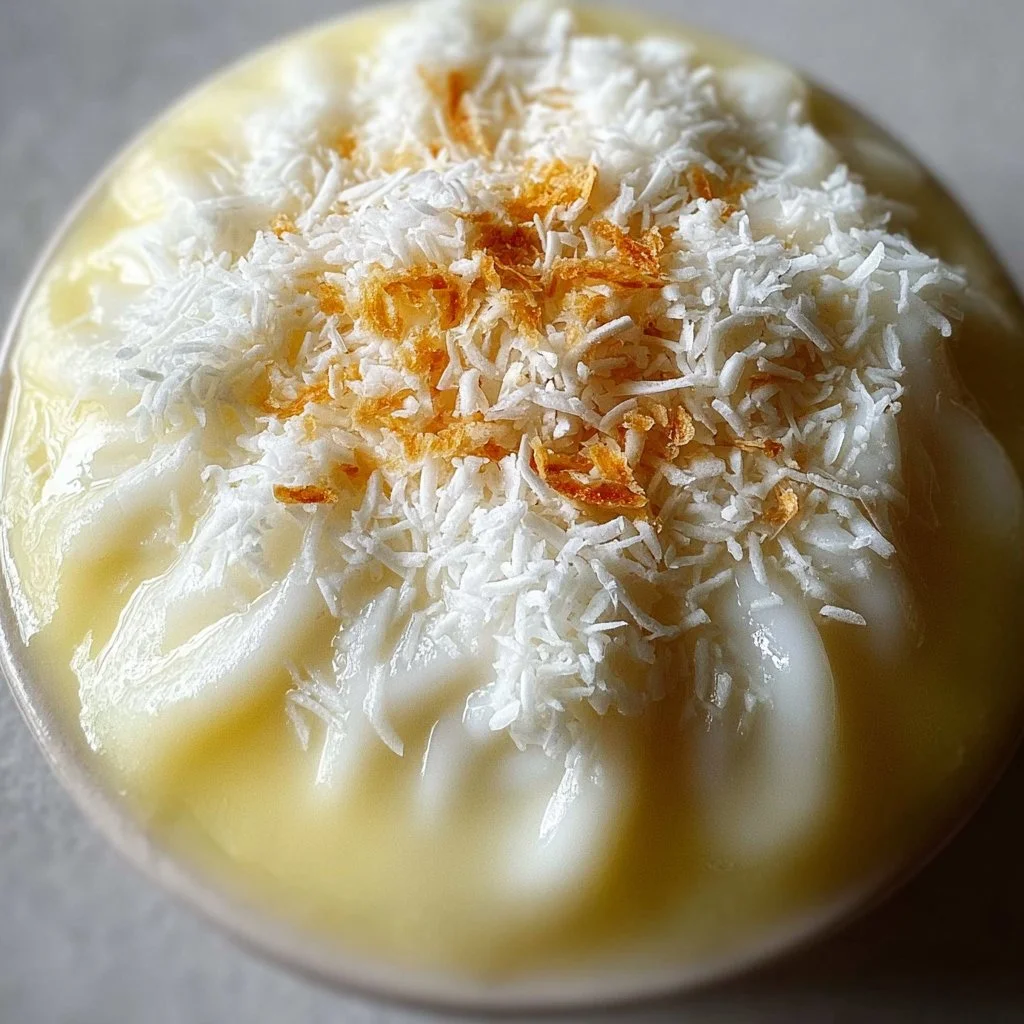
If you’ve ever tasted that cool, jiggly coconut square on a Hawaiian dessert table and wondered what it was, this Haupia Hawaiian Coconut Pudding is it. Haupia is simple, silky, coconutty, and honestly kind of magical for how few ingredients it uses. I love it for summer cookouts, potlucks, and honestly for late night fridge snacking when the house is finally quiet.
Haupia Hawaiian Coconut Pudding also happens to be naturally dairy free, naturally gluten free, and very meal-prep friendly. Make a pan, let it chill, slice into neat little squares, and you are set for days. As a former teacher, anything I can make ahead and not worry about at the last minute gets an A+ from me.
I first had haupia at a tiny plate-lunch spot in Honolulu, and I still remember being surprised that something so simple could feel so comforting. Haupia Hawaiian Coconut Pudding tastes a bit like coconut panna cotta and a bit like a firm pudding, but with its own island personality. Once you make it once, you will absolutely start imagining all the toppings and twists you can try. Which is the fun part, right?
Why this coconut pudding belongs in your rotation
This is one of those recipes that quietly sneaks into your regular lineup. It uses pantry staples, so you are probably only a can of coconut milk away from having everything you need, and that makes it a perfect last minute dessert when guests are already on their way. It feels special and nostalgic without being fancy or fussy, which I really appreciate on busy weeks.
The texture is a big part of the appeal. Haupia sets up into something between firm Jell-O and soft pudding, so it slices cleanly but still melts on your tongue. If you like coconut at all, this is your dessert, because the flavor is front and center, not buried under a bunch of add-ins. It is also such a good option for mixed diet crowds, since there is no dairy, no eggs, and no gluten in the base recipe.
If you like recipes that can flex, this one delivers. Serve it in neat little squares for a party, spoon it into cups for kids, or layer it into parfaits with fruit. It tastes great on its own, but it also plays nicely with chocolate, pineapple, mango, and even coffee. For my fellow meal preppers, it keeps its texture in the fridge for days, so you can make it on Sunday and enjoy calm desserts all week. That tiny bit of calm at the end of the day really matters.
What you need for haupia
- 2 cups coconut milk
- 1 cup water
- 1/2 cup granulated sugar
- 1/4 cup cornstarch
- 1 tsp vanilla extract
- 1 pinch salt
Use full fat canned coconut milk for the creamiest, most authentic haupia. Light coconut milk will technically work, but the texture will be softer and the flavor less rich, so if you try it, maybe reduce the water just a touch. Shelf stable coconut milk usually lives in the Asian or international aisle at most grocery stores and is often cheaper at Asian markets.
Granulated sugar keeps the flavor clean, but you can swap in organic cane sugar easily. I would not use brown sugar here since it competes with the delicate coconut flavor. Cornstarch is the key thickener and is what gives haupia that familiar bouncy set. If you absolutely must substitute, arrowroot starch can work, but the texture will be a bit more jelly like. Vanilla and a tiny pinch of salt round the whole thing out and keep it from tasting flat, and you probably already have them on hand, which is always nice for the budget.
How to make Haupia Hawaiian Coconut Pudding
- In a small bowl, whisk the cornstarch with half of the water until completely smooth and free of lumps.
- In a saucepan, combine the coconut milk, sugar, and salt over medium heat, stirring gently to prevent scorching.
- Stir the mixture continuously until the sugar fully dissolves and tiny steam bubbles rise around the edge.
- Slowly pour in the cornstarch slurry in a thin stream, whisking nonstop to avoid any clumps.
- Continue to cook and stir until the mixture thickens and coats the back of a spoon, resembling pudding.
- Remove the pan from the heat and stir in the vanilla extract for a fragrant finish.
- Pour the hot haupia into a lightly oiled pan or mold, using a spatula to smooth the top.
- Let the pudding cool to room temperature on the counter before transferring it to the fridge.
- Refrigerate for at least 2 hours, allowing the haupia to fully set, then slice into squares and serve chilled.
A couple of little cues will help you feel confident here. When you whisk the cornstarch with water, really take a moment to get it fully smooth, no tiny powder pockets hiding at the bottom of the bowl. That slurry is your thickening power, so if it is lumpy now, it will be lumpy later.
When the coconut milk, sugar, and salt are heating, look for those small bubbles around the edges and a little steam on top. You do not want a full boil, just a gentle simmer, and keep stirring so the coconut milk does not scorch on the bottom. When you add the slurry, pour slowly and whisk like you mean it. If a few little lumps show up, do not panic, keep whisking and most will smooth out.
The mixture thickens fairly quickly in the last minute or two. You are looking for it to coat the back of a spoon, and when you run your finger through it, the line should hold. It will set even more as it cools, so stop once it looks like a loose pudding, not like concrete. After you pour it into the pan, smoothing the top gives you those pretty slices later. If you see a few bubbles, you can tap the pan on the counter gently to pop them.
Give it time in the fridge. I know it is tempting to cut in early, but if you try to slice before the full chill, it can be a bit soft around the edges. Two hours is the minimum, but if you can leave it longer, the texture gets even better and the squares hold up nicely on a dessert tray.
Tips and tricks from a teacher brain
For clean cuts, use a sharp knife and wipe the blade between slices. You can even lightly oil the knife if you want those super tidy, photo ready edges. If you are making haupia ahead for a party, press a sheet of plastic wrap gently on the surface once it is fully cooled. This keeps it from drying out in the fridge.
Store leftovers covered in the refrigerator for up to 4 days. Haupia is served chilled, so no need to reheat, which makes it a very low maintenance dessert. If some liquid separates after a couple of days, that just means it sat a bit long in a warm spot before chilling. Next time, move it to the fridge sooner and you will be fine.
If you want to double the recipe, use a larger pan and keep the thickness about the same, or the center may take longer to set. The cooking time on the stove will be just a bit longer, so use the texture cues, not the clock. And if you ever end up with a batch that is a little too soft to slice, scoop it into small cups, call it coconut pudding, and top with fruit. No stress.
Fun ways to serve your haupia
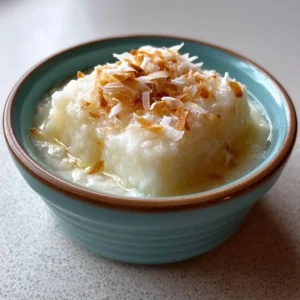
Haupia is lovely all by itself, cut into small squares and served on a platter with toothpicks. For a backyard cookout, I really like pairing it with fresh pineapple and mango on the side, kind of like a simple dessert spread that still feels tropical. A sprinkle of toasted coconut on top adds a nice bit of crunch and looks pretty too.
For a slightly fancier vibe, layer small cubes of haupia in glasses with crushed graham crackers and berries. It turns into an instant no bake parfait that people think took way more effort than it did. You can also serve haupia next to grilled chicken or fish as the light, cool finish to the meal, which is especially nice on hot Austin evenings.
Got leftovers? Dice the haupia and fold it into a fruit salad for breakfast, or tuck small cubes into kids lunch boxes in little containers. It holds up better than you would think. And if you are a coffee person, try a small square alongside your iced coffee in the afternoon. Such a nice break.
Haupia FAQ
You can, but the texture will be softer and less rich. Carton coconut beverage is mostly water, so if you use it, reduce the added water a bit and know that it may not slice quite as firmly.
Most of the time this means it was not cooked quite long enough after adding the cornstarch slurry, or the cornstarch was not measured accurately. Next time, cook until it clearly coats the back of a spoon and make sure your cornstarch is level, not heaped.
Yes, and it is actually better that way. Make it up to 2 days in advance, keep it tightly covered in the fridge, then slice just before serving so the edges stay neat.
You can gently reduce the sugar to about 1/3 cup without hurting the texture. Any less than that and the pudding will start to lose some of its stability and its flavor balance.
You can, as long as you keep the total liquid amount similar. A little cocoa powder whisked with the cornstarch works nicely, or you can swap a few tablespoons of the water for strong cooled coffee for a subtle mocha vibe.
If you give this Haupia Hawaiian Coconut Pudding a try, come back and tell me how it went, especially if you put your own twist on it. Did you serve it with fruit, or just sneak pieces from the pan like I sometimes do? Save or pin this recipe so you can find it next time a cool, simple dessert sounds good, and feel free to share it with that one friend who always brings the store bought cookies to potlucks and secretly wants something easier but homemade.
Haupia Hawaiian Coconut Pudding
Ingredients
Main Ingredients
- 2 cups coconut milk Use full-fat for the creamiest texture.
- 1 cup water Adjust if using lighter coconut milk.
- 1/2 cup granulated sugar Can swap for organic cane sugar.
- 1/4 cup cornstarch Key thickener; arrowroot can be substituted but changes texture.
- 1 tsp vanilla extract Adds flavor.
- 1 pinch salt Balances the sweetness.
Instructions
Preparation
- In a small bowl, whisk the cornstarch with half of the water until completely smooth and free of lumps.
- In a saucepan, combine the coconut milk, sugar, and salt over medium heat, stirring gently to prevent scorching.
- Stir the mixture continuously until the sugar fully dissolves and tiny steam bubbles rise around the edge.
- Slowly pour in the cornstarch slurry in a thin stream, whisking nonstop to avoid any clumps.
- Continue to cook and stir until the mixture thickens and coats the back of a spoon, resembling pudding.
- Remove the pan from the heat and stir in the vanilla extract.
- Pour the hot haupia into a lightly oiled pan or mold, smoothing the top with a spatula.
- Let the pudding cool to room temperature before transferring it to the fridge.
- Refrigerate for at least 2 hours to allow the haupia to fully set, then slice into squares and serve chilled.


